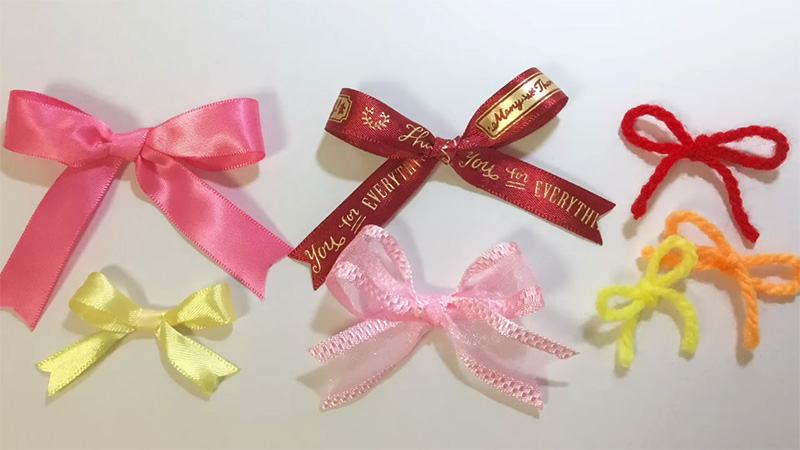
Don’t plan a surprise box without a ribbon bow! It’s not complete yet! If you don’t know how to make a ribbon bow, we are here for you.
Traditionally, ribbons are a symbol of affection and love! People add ribbon bows not only for their beautiful appearance but also to deliver the message of love.
Plus, it is not that hard too! With our guide, you can DIY ribbon bows with just a few simple steps. You can read it on your way to the occasion and completely alter the look of your present!
Step On!
Did You Know?
- The Egyptians and the Romans also used bows as decorative elements. They used cloth and plant fibers.
- Ribbon Bows have symbolic meaning in Japan. It represents care and attention to detail.
- Believe it or not, many competition events take place to promote the skill of bowmakers. The events often take place at craft fairs
- Queen Elizabeth II had the signature ribbon bows on her dresses and hats. Ever since then, it’s been a trend in the fashion industry.
- The world’s largest ribbon bow measured 49.35 meters (161ft 7in) in length (based on the Guinness World Records), used to reopen a shopping center in the UK.
- The study of how ribbon bows behave when tied is called knot theory. It also reveals different mathematical properties.
How to Make A Ribbon Bow?
Since you are in a rush, you will only need a ribbon, tape, and scissors (never mind). You can also get the job done without a scissor 😀 Most often, tapes are included with ribbons. Follow the steps in the series to prepare the perfect bow.
1) Secure the Length
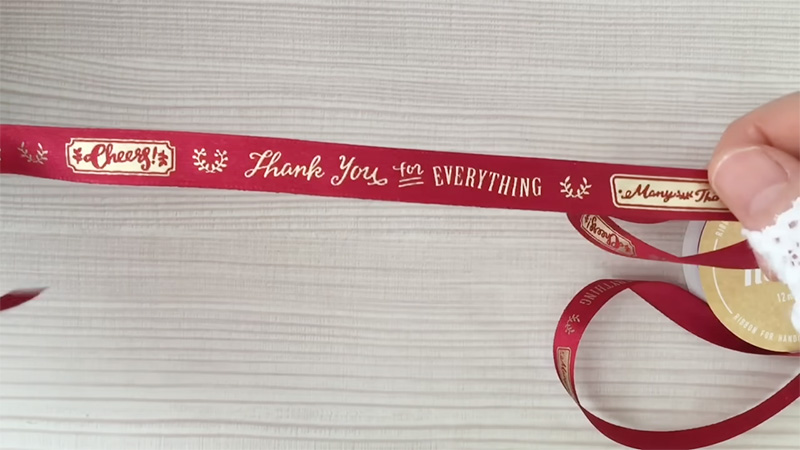
Unroll the ribbon and fix the length of the ribbon. It has to be long enough to make a ribbon. Generally, the tail is about 5 to 6 inches long on each side. Always keep some extra to allow a proper shape.
2) Create the Loops
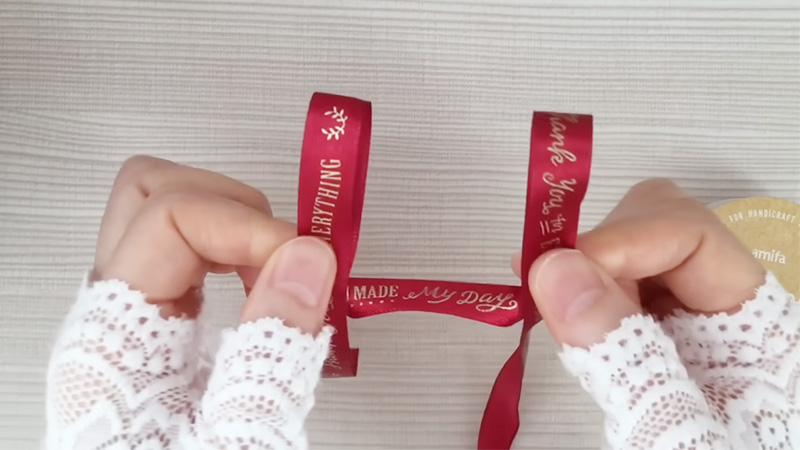
You will need a flat surface for this. If you don’t have one, consider the surface of the present box. Lay down the ribbon on top of the box.
Have both bow tail ends to the center. Hold one end of the ribbon and make a loop by folding it over itself.
Now, just like before, you will take the other end of the ribbon and make another loop. It should replicate the first one. You will have two loops and two tails.
It’s important to note that, both loops would be the same in size and length. They have to be symmetrical.
3) Lock the Loops

Be gentle and cross the second loop over the first one. They should overlap in the center. And you will have an X shape by the end of the ribbon still hanging down.
Next, you have to lock the loops. Use a small piece of tape. In case, you don’t have one, you can also use a pin. Pin the center of the crossed loops. It will hold the bow in place.
4) Adjust the Tails
The tails would hang down below the bow. Take one end of the bow and fold it down toward the center. Repeat it with other the other end. You will now have two hanging tails, below the bow.
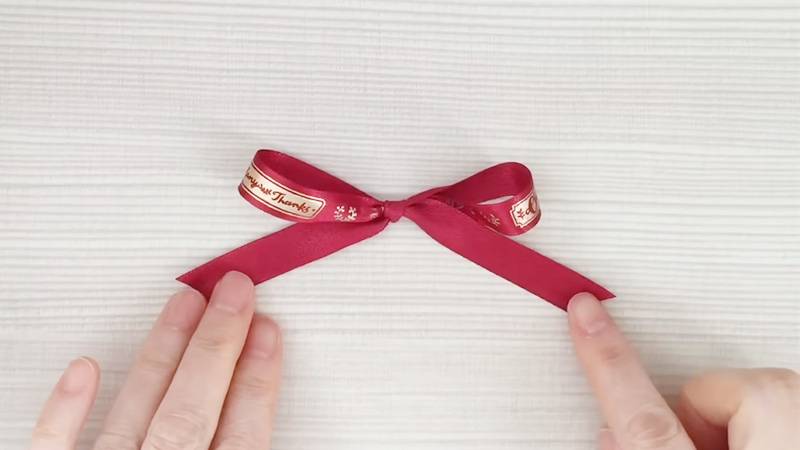
5) It’s Almost Ready
Now, you have to finally review the ribbon bow. Remove the pin/ tape carefully from the center of the bow. Pinch the center of the bow where the loops cross and the tails meet. You will have a classic shape with a perfectly finished bow.
Lightly elevate the bow and adjust the size of the loops. It will adjust the shape and size of the loops and tails together. Remember to trim the tails if you need to!
Finally! You need to place and attach the ribbon bow to the present box. You can use the pin to lock the bow with the box.
Congratulations! You have successfully made your first ribbon bow.
Most ribbon bows are automated these days! Meaning, you only have to pull a tail to make a perfectly fluffy ribbon. They are beautiful and fast!
Nonetheless, the handmade ribbon bows are filled with love and a touch of affection. People appreciate them more than the ready-made ones. Here, take a look at how you can add more perfection to your ribbon bows.
How Ribbon Bows Can Lift the Mood: Successful Tips
Ribbon Bows are the symbol of cheers! You can genuinely turn any simple gifts into extraordinary ones with a simple and small ribbon bow.
The method is simple and you only need to invest a little time. Below you have tips to craft the ribbon bows. Read them with us,
- It starts with the ribbon! Meaning, that you have to select the right ribbon for the job. Whether you are creating a floral or wire-bound ribbon, it’s essential to select the right ribbon.
- It’s best to use a ruler. You can be double-sure of the length of your ribbon. Also, use a sharp scissor to prevent any uneven tail.
- If you are doing this for the first time, start with the scrap ribbon first. It will help you refine your skills.
- Don’t limit yourself to just one type of bow. Explore different styles like the classic bow, layered bow, or even twisted bow.
- In the end, you will need to balance the ribbon bow. You have to tighten it but not too hard so that it ruins the shape of the bow.
Remember, everything starts with you! The color, and texture! You need to be exactly sure of it!
Last Words
Ribbons are not only creative but also a beautiful treatment for the eyes! You can be as creative and colorful as you want to warm the minds of your dear ones.
But there are more to try from. Don’t restrict yourself to the basic knot of ribbon only. You have a lot of options to try! Keep an eye on our blog section and you will learn more.
We share useful articles on daily crafts! Also, share our article with your friends who are interested in learning how to make a ribbon bow!
Leave a Reply