Embarking on the art of hand-sewing sequin trim introduces a touch of craftsmanship and personalization to your creative endeavors.
This meticulous process allows you to elevate garments, accessories, or crafts with a dazzling flourish, showcasing your unique style.
Delving into the delicate dance of stitches, this guide unfolds step by step, offering insights into planning, threading needles, and attaching sequin trim seamlessly.
As you weave through each detail, discover the transformative power of hand-sewn embellishments, infusing your projects with elegance and individuality.
Whether enhancing clothing or crafting distinctive accessories, mastering this skill opens a world of possibilities for the discerning creator seeking to add a sparkle of handcrafted glamour.
How to Sew Sequin Trim by Hand?
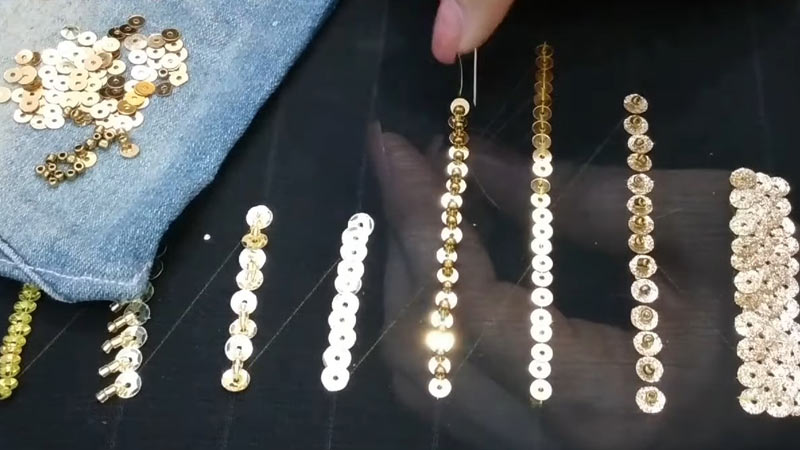
Sewing sequin trim by hand can be a delightful and creative way to add a touch of glamour to your garments, accessories, or craft projects. Sequin trim is often used to embellish clothing, costumes, and home decor items.
Here’s a step-by-step guide on how to attach sequin trim to fabric by hand:
Materials Needed:
- Sequin Trim.
- Fabric or Project to Embellish.
- Needle.
- Thread.
- Pins.
- Scissors.
Step-by-Step Guide:
1. Plan and Pin
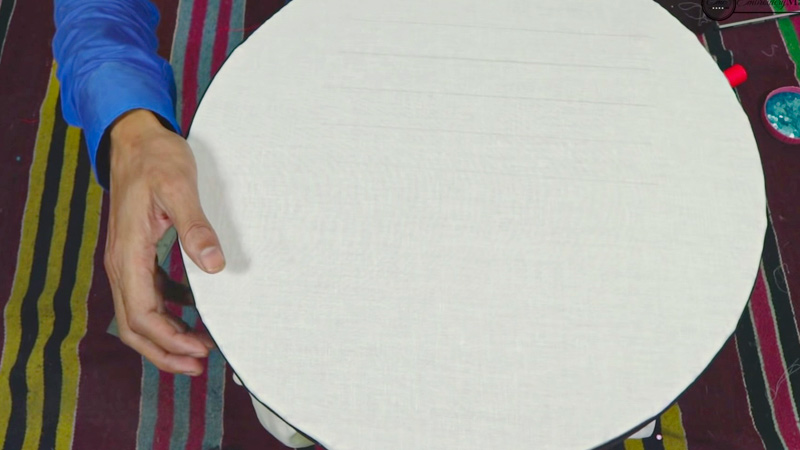
Before delving into the sewing process, take a moment to meticulously plan where you’d like the sequin trim to enhance your fabric or project.
Lay out your fabric and assess the optimal placement for the trim. This thoughtful planning ensures that the sequin embellishments are strategically positioned.
Once satisfied with the placement, use straight pins to secure the trim in these positions. This step is crucial for maintaining precision during the sewing process.
2. Thread the Needle
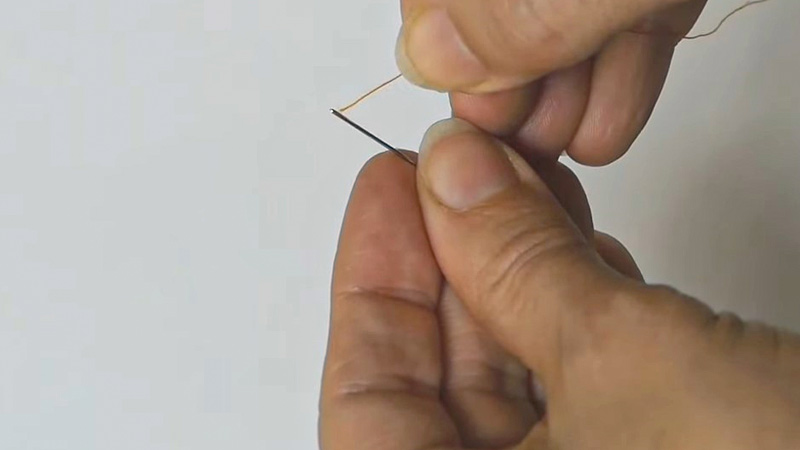
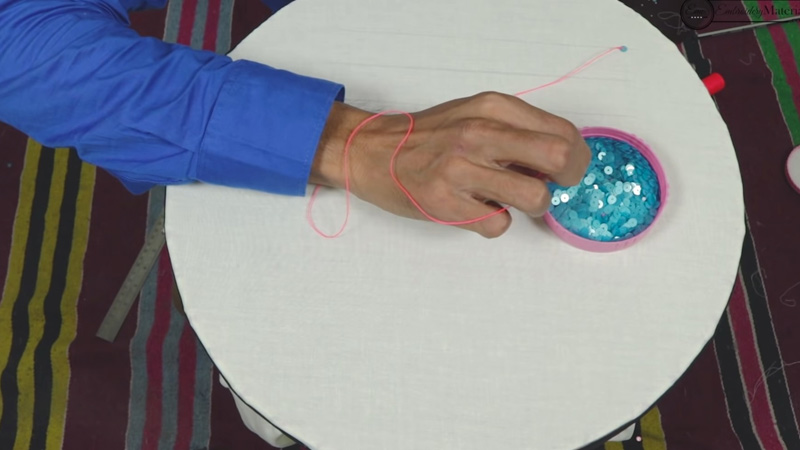
Now, equip yourself with a generous length of thread, typically ranging from 18 to 24 inches.
Thread the needle with care, ensuring the thread smoothly passes through the eye. Tie a secure knot at the end of the thread.
This knot serves as a stable starting point, preventing accidental unraveling and providing a reliable foundation for your sewing endeavors.
3. Start Sewing
Embark on your sewing journey by starting from the backside of the fabric or the inner layer of the project.
This strategic beginning conceals the initial knot, maintaining a clean and polished appearance.
Bring the needle up through the fabric to the front, positioning it near the edge of the sequin trim. This ensures that your stitches secure the trim firmly in place.
4. Attach Sequin Trim
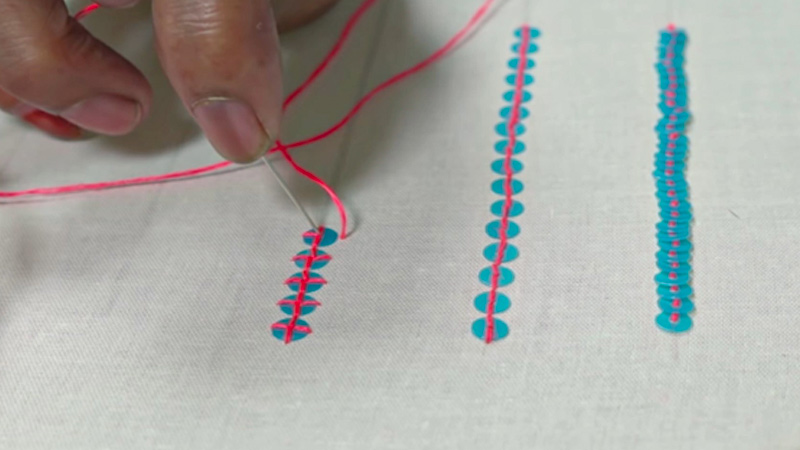
Align the sequin trim meticulously along the edge of the fabric or project, adhering to the planned placement.
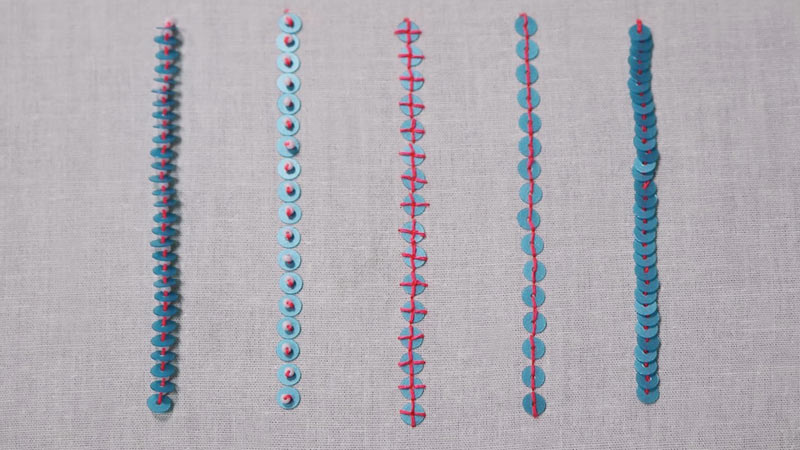
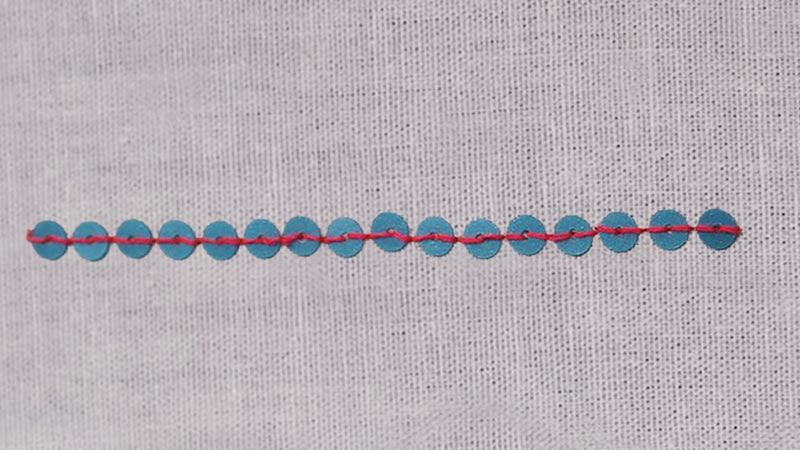
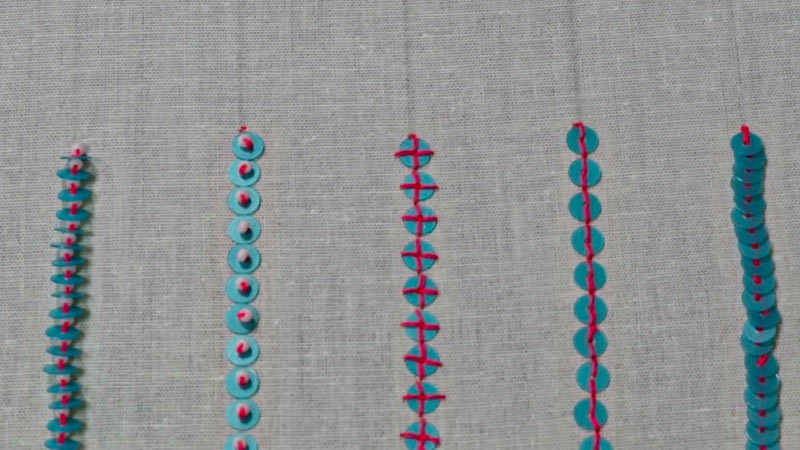
With each stitch, insert the needle through the fabric, skillfully catching the edge of the sequin trim, and bring it back up through the fabric.
This rhythmic process continues along the entire length of the trim, necessitating small, even stitches. Consistency in stitch size contributes to a professional and refined finish.
5. Secure the End
As you approach the end of the sequin trim or reach your desired length, it’s time to secure the thread. Make a small, tight knot on the backside of the fabric.
This knot ensures that the sequin trim remains securely attached, preventing any unintended loosening or detachment.
6. Repeat the Process
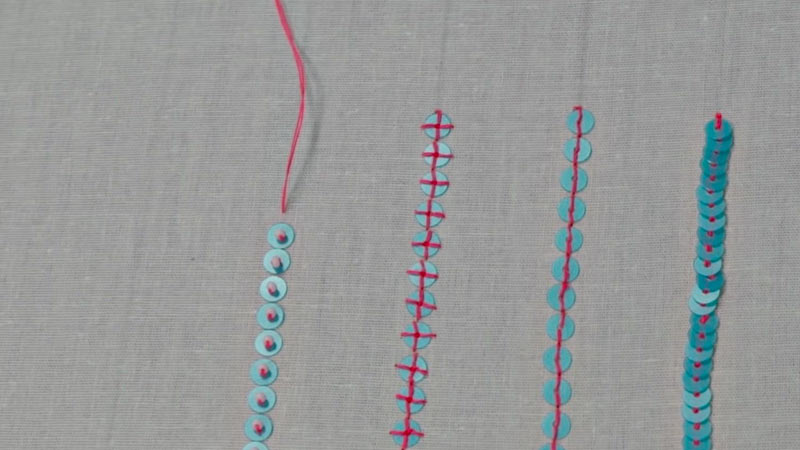
Should your project involve multiple strands of sequin trim or cover a larger area, repeat the sewing process for each section.
By doing so, you secure each part individually, minimizing the risk of gaps or loose sections. This meticulous approach contributes to a cohesive and polished final result.
7. Finishing Touches
Trim any excess thread with precision, ensuring a neat appearance. Double-check that all knots are securely tied.
If deemed necessary for your fabric type, press the fabric lightly with a low-heat iron. Exercise caution with the iron, especially if working with delicate fabrics prone to heat damage.
How to Sew Sequin Fabric by Hand?
Sewing sequin fabric by hand is a creative and rewarding endeavor, offering a personalized touch to your projects.
Whether you’re crafting glamorous garments or dazzling accessories, here’s a comprehensive guide to hand-sewing sequin fabric:
1. Preparing the Fabric
Begin the sequin fabric sewing process by meticulously laying it out on a flat surface.
Smooth out any wrinkles, ensuring the fabric is taut and even. Securing the fabric pieces together with straight pins is crucial; this prevents any unwanted shifting during the subsequent sewing stages.
A well-prepared fabric surface is the foundation for a seamless and polished outcome.
2. Thread Selection: The choice of thread is a critical aspect of sewing sequin fabric by hand.
Opt for a thread that strikes a balance between strength and fineness. This selection ensures durability without compromising the delicate nature of sequins or the fabric.
Threading the needle with a secure knot at the end provides a stable foundation for the stitching process, allowing you to navigate the sequin-laden fabric with ease.
3. Needlework
Embark on the needlework phase by starting from the backside of the fabric. Insert the needle through the seam allowance, ensuring the initial knot is discreetly hidden.
Gently bring the needle up through the fabric, delicately catching a few sequins with each stitch.
Employ small and inconspicuous stitches to secure the sequins in place, preventing any potential damage to the intricate embellishments.
4. Sequin Alignment
Maintaining precise sequin alignment is paramount for a professional-looking finish. Carefully sew through the fabric itself, avoiding direct penetration of the sequins.
This technique ensures a secure hold without compromising the structural integrity of the sequins.
Attention to detail during this step contributes to a visually appealing and durable final product, where the sequins enhance rather than hinder the fabric’s integrity.
5. Handling Bulk
In instances where your project involves multiple layers or particularly thick sequin fabric, it’s wise to employ a practical solution. Consider using pliers to assist in pulling the needle through the layers.
This not only prevents undue strain on your fingers but also facilitates a smoother sewing process, especially when dealing with denser and more intricate sequin arrangements.
6. Seam Reinforcement
To enhance the longevity and stability of your hand-sewn sequin fabric, incorporate a reliable seam reinforcement technique. Prioritize backstitching at both the beginning and end of each seam.
This simple yet effective measure prevents sequins from loosening over time, ensuring that your meticulously crafted embellishments remain securely attached for the long haul.
7. Patience and Precision
Sewing sequin fabric demands a measured approach marked by patience and precision.
Allow time for each stitch to ensure evenness, and meticulously maintain a consistent seam allowance throughout the project.
This attention to detail not only guarantees a polished appearance but also contributes to a professional-looking finish, showcasing your commitment to craftsmanship.
8. Finishing Touches
As you conclude the sewing process, attend to the finishing touches that elevate your project to its final form.
Secure the thread by tying a knot on the reverse side of the fabric, ensuring a snug and reliable closure.
Trim any excess thread with care, avoiding unintentional snags or disruptions to the sequin fabric.
To set the stitches and provide a smooth finish, lightly press the seams with a low-heat iron.
Exercise caution, especially when working with delicate fabrics, to preserve both the sequins and the overall integrity of your hand-sewn creation.
FAQs
How do I choose the right sequin trim for my project?
Consider the color, size, and shape of the sequins to complement your fabric. Ensure the trim’s flexibility aligns with your project’s design.
What type of needle is best for sewing sequin trim by hand?
Opt for a sharp needle with a large eye to accommodate the thread and glide easily through the fabric and sequins.
How do I prevent the sequin trim from tangling or twisting during sewing?
Pin the sequin trim in place before sewing to secure its position, minimizing the chances of tangling or misalignment.
Can I sew sequin trim on delicate fabrics?
Yes, but use caution. Choose a thin, flexible trim, and sew carefully to avoid damaging the delicate fabric.
What’s the best way to secure the ends of the sequin trim?
A: Tie a secure knot on the backside of the fabric once you reach the end of the sequin trim to ensure it stays firmly in place.
To Recap
Mastering the delicate art of sewing sequin trim by hand, you embark on a journey of creativity and craftsmanship.
This meticulous process, outlined through thoughtful planning, precise stitches, and careful handling, offers a pathway to elevate your projects with a touch of glamour.
The dance of needle and thread, the alignment of sequins, and the patience invested in each stitch culminate in a final creation that bears the unmistakable mark of handcrafted elegance.
As you conclude each embellished piece, the sparkle of sequins becomes more than adornment; it represents the dedication and artistry infused into every stitch, leaving a shimmering legacy of individuality and style.
Leave a Reply