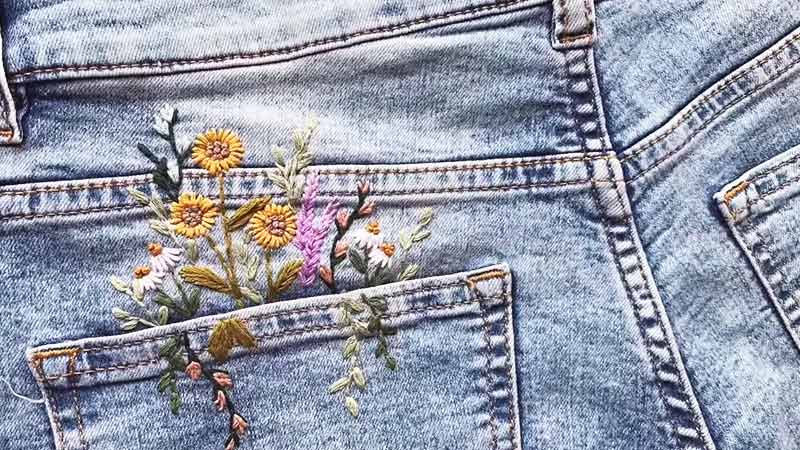
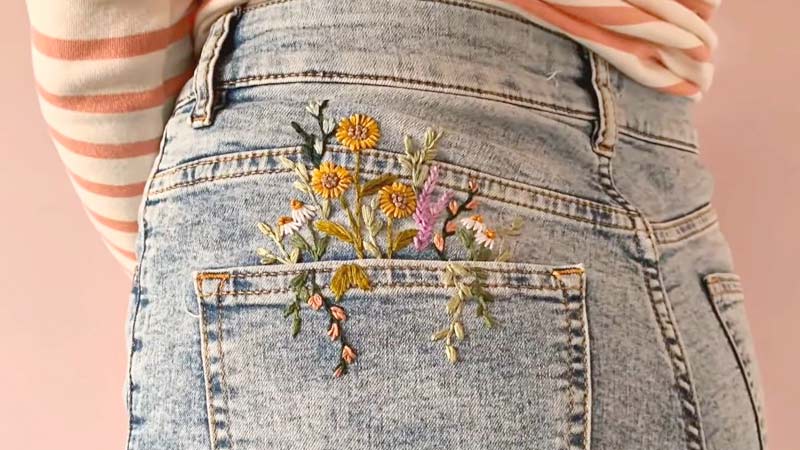
Embarking on the creative journey of embroidering over existing embroidery opens a realm of possibilities and challenges alike. This intriguing process involves layering stitches to modify or enhance an original embroidery design.
The outcome is shaped by careful considerations of thread choices, stitch density, and the interplay between old and new elements. As stitches intertwine, they give birth to a unique tapestry, transforming the familiar into something novel.
Exploring what happens if you embroider over an embroidery invites artists and hobbyists to experiment with textures, colors, and depth, breathing fresh life into stitched creations.
This journey is not only a test of technical skills but an exploration of the artistic synergy that arises when traditional embroidery meets contemporary innovation.

Can I Embroider Over Embroidery?
Can you embroider over embroidery? Embroidering over existing embroidery is a creative technique that allows you to add depth, detail, or a new dimension to your stitched designs.
This method involves strategically layering additional embroidery stitches on top of the existing ones, creating a textured and intricate final product.
By using this approach, you can enhance the visual complexity of your embroidery projects, introducing new colors, patterns, or embellishments. Precision and careful planning are essential to avoid distorting the original design.
Experimenting with embroidery over embroidery opens up endless possibilities for artistic expression, making it an exciting and innovative way to breathe new life into your stitched creations.
What Happens If You Embroider Over An Embroidery?
Embroidering over an existing embroidery design can yield intriguing results, but it’s crucial to consider potential consequences. Here are seven outcomes to be mindful of when layering embroidery stitches over an already embroidered piece.
Thread Buildup
Embroidering over embroidery can lead to thread buildup, affecting the overall texture and appearance. Excessive layers may cause the stitches to become bulky, altering the original design’s intended look and feel.
Design Distortion

Layering stitches can result in design distortion, especially if the original embroidery is intricate. Careful planning and consideration of stitch density are essential to avoid distorting the underlying design.
Thread Tension Challenges
Embroidering over existing stitches may pose challenges in maintaining consistent thread tension. Uneven tension can create visible irregularities in the final embroidery, impacting the overall quality of the stitched piece.
Color Blending Issues
When layering different colors of thread, achieving the desired color blending can be challenging. Colors from the new embroidery may interact with those underneath, potentially altering the intended color palette.
Needle Breakage
Embroidering over dense embroidery areas may increase the risk of needle breakage. The added thickness and resistance can put additional stress on the needle, affecting the overall stability of the embroidery process.
Machine Compatibility

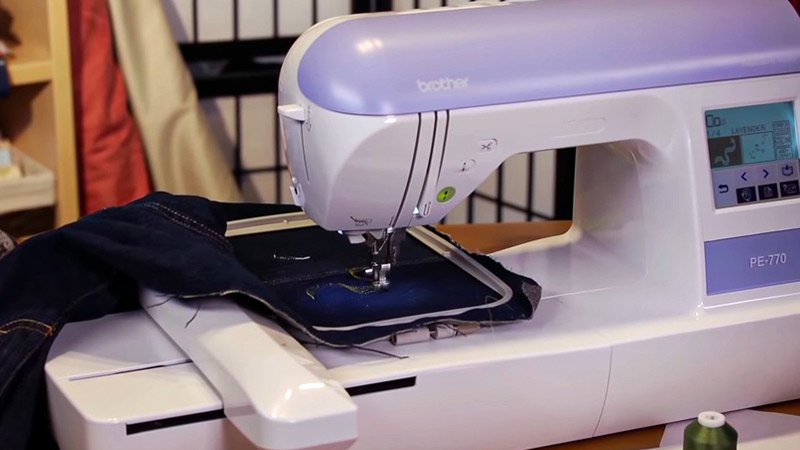
Not all embroidery machines are designed to handle multiple layers of stitches. Attempting to embroider over embroidery on machines with limited capabilities may result in technical issues or compromised stitch quality.
Limited Detail Clarity
Layering stitches can diminish the clarity of intricate details in the original embroidery. Fine details may become obscured, impacting the overall definition and intricacy of the design.
While embroidering over embroidery can introduce captivating dimensions to your work, it’s essential to approach the process with caution and strategic planning to mitigate these potential consequences.
Experimenting with scrap fabric or smaller projects can help you refine your technique and achieve the desired results without compromising the integrity of your original embroidery.
How To Embroider Over Embroidery?
Embroidering over existing embroidery adds depth and creativity to your projects, but it requires careful execution to achieve optimal results.
Here are five simple methods to guide you through the process of embroidering over embroidery:
Thread Matching and Blending

Choose embroidery thread colors that complement or blend well with the existing stitches. This ensures a harmonious look and minimizes the risk of color clashing.
By thoughtfully selecting threads, you can enhance the overall aesthetic while maintaining clarity in the design.
Stitch Direction and Density
Align your new stitches with the direction of the underlying embroidery to maintain a cohesive appearance.
Consider adjusting the stitch density to avoid buildup; sparse stitches may be suitable for adding accents, while denser stitches can cover larger areas without compromising the original design.
Use Lightweight Fabrics
Opt for lightweight fabrics when embroidering over existing stitches to prevent unnecessary bulk. Thin fabrics allow for smooth needle penetration, reducing the risk of distortion or tension issues. Test on a scrap piece to gauge the impact on the fabric and adjust accordingly.
Secure the Fabric
Ensure your fabric is securely hooped or stabilized to prevent shifting during the embroidery process. This stability is crucial for maintaining the alignment of the new stitches with the original design. Use additional stabilizers if needed to support the layered embroidery.
Experiment with Open Designs
Explore open or airy embroidery designs when layering stitches. These designs allow the underlying embroidery to peek through, creating a dynamic visual effect. Experimenting with open designs provides flexibility and freedom for creative expression.
Embroidering over embroidery offers endless possibilities for elevating your stitching projects. These methods, when applied with care and precision, empower you to add complexity and depth to your designs while preserving the integrity of the original embroidery.
Experimentation, practice, and attention to detail will help you master the art of layering stitches seamlessly.
Can You Embroider Over An Existing Embroidery?

Certainly, embroidering over an existing embroidery design is a creative technique that allows you to enhance and modify a stitched piece.
Whether you want to add more details, colors, or textures, embroidering over existing stitches provides a unique opportunity for artistic expression.
This process involves layering new embroidery stitches on top of the original design, creating depth and complexity. Careful consideration of thread colors, stitch direction, and density is essential to maintain a cohesive and visually appealing result.
It’s a versatile approach that enables you to breathe new life into old projects or experiment with different elements, showcasing the dynamic and evolving nature of embroidery as an art form.
Can You Embroider Over Old Embroidery?
Embroidering over old embroidery is a captivating way to rejuvenate and transform a pre-existing stitched piece. This technique involves adding new layers of embroidery stitches onto the original design, allowing for creative innovation and personalization.
Whether you wish to refresh faded colors, introduce additional details, or completely change the aesthetic, embroidering over old embroidery provides a canvas for artistic exploration.
It invites the opportunity to blend traditional and contemporary elements, giving new life to cherished textiles or breathing fresh inspiration into forgotten projects.
Careful consideration of thread choices, stitch direction, and overall design harmony ensures seamless integration, resulting in a unique and visually engaging embroidery piece that reflects both the history and evolution of your creative journey.
Can You Put A Patch Over Embroidery?
Certainly, applying a patch over embroidery is a versatile and creative way to modify or personalize an existing stitched design.
This technique involves affixing a fabric patch onto the embroidery and introducing new colors, textures, or motifs to the original piece.
Whether for practical reasons, such as covering a flaw or stain or for purely aesthetic purposes, adding a patch over embroidery allows for a dynamic layering of elements.
Careful consideration of the patch’s size, shape, and color ensures a harmonious integration with the underlying embroidery. It offers a practical solution for refreshing or updating garments and textiles while providing an opportunity for artistic expression.
This process allows you to seamlessly blend the old and the new, creating a visually interesting and unique embroidery composition.
How To Find Embroidery Near Me?
Embarking on the search for embroidery services near you involves a straightforward process that ensures convenience and accessibility.
Begin by utilizing online search engines or local business directories to identify embroidery shops, studios, or services in your vicinity.
Consider expanding your search to include terms like “custom embroidery” or “embroidery specialists” to refine results. Social media platforms and community forums can also provide recommendations from residents who have utilized embroidery services.
Additionally, visiting craft stores, fabric shops, or community centers often unveils information about nearby embroidery services.
By combining online resources, community suggestions, and physical exploration, you can efficiently locate embroidery services near you, facilitating easy access to personalized and professional stitching solutions.
FAQs
Can I embroider over any type of embroidery?
Yes, you can embroider over various types of embroidery. However, it’s essential to consider factors such as stitch density, thread colors, and the fabric’s ability to handle additional layers.
Will the new embroidery affect the original design’s clarity?
Layering stitches may impact fine details, so careful consideration of thread choices and stitch placement is crucial to maintain clarity.
How does thread blending work when embroidering over embroidery?
Thread blending involves choosing colors that complement the existing stitches, creating a harmonious look. Experimenting with different thread combinations can yield intriguing visual effects.
Can I embroider over an old and faded embroidery to refresh it?
Yes, embroidering over old and faded embroidery is an excellent way to breathe new life into the piece, refreshing colors and adding vibrancy.
Are there any risks involved in embroidering over existing embroidery?
Potential risks include thread buildup, design distortion, and challenges with thread tension. However, careful planning and technique adjustment can mitigate these risks, ensuring a successful outcome.
Conclusion
In the realm of embroidery, the question of what happens when you embroider over an existing piece is met with a myriad of outcomes, each as unique as the individual behind the needle.
Whether it’s the careful blending of colors, the strategic layering of stitches, or the subtle transformation of an old design, this creative process reflects the evolving nature of textile art.
As the threads weave together, a story unfolds – one that intertwines tradition and experimentation.
Embracing the unpredictability of embroidering over embroidery offers artists the chance to redefine and reimagine their craft, fostering a dynamic dialogue between the past and the present within each carefully stitched detail.
Leave a Reply