Discovering Fray Block was a total game-changer for me! After years of dealing with fabrics that seemed to fall apart if you looked at them the wrong way, I finally found my solution.
If you’ve felt the frustration of fabric edges fraying, trust me, you’re in good company. This neat liquid is designed to coat and seal the ends of yarns or fabric, stopping them from fraying and giving your projects a polished finish.
I used to swear by Fray Check, but it always left this crusty, annoying residue. Fray Block, on the other hand, is super smooth to apply and so much easier to work with. It dries clear, which is fantastic whether you’re working on clothes or quilts.
Whether you’re tackling a detailed quilt or just a simple sewing task, knowing how to use Fray Block correctly can save you time and boost the durability of your projects. Let’s dive into the easy steps to make the most of this nifty tool!
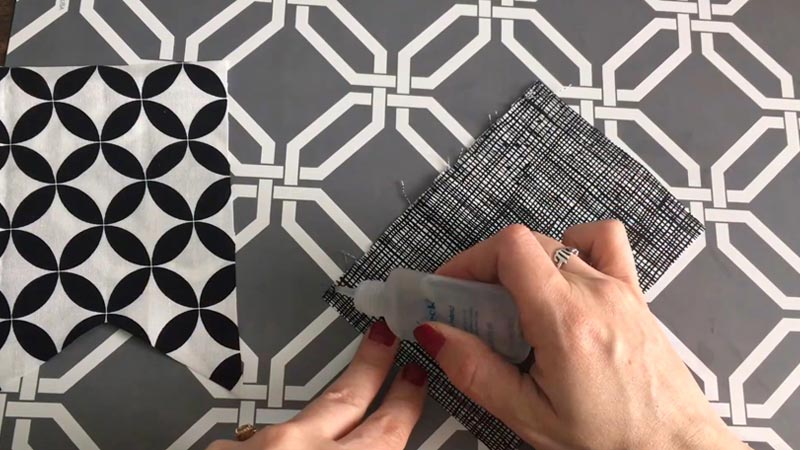
What Is Fray Block?
Fray Block is a liquid solution designed to coat the edges of yarn or wool, preventing them from fraying and unraveling.
Unlike other products I’ve tried, such as Fray Check, Fray Block dries clear and lacks the harsh, scratchy feel that can irritate skin.
It’s perfect for sewing projects where a neat finish is essential. This product, available at most fabric stores or online, leaves a smooth, invisible layer that maintains fabric integrity without any visible residue.
Step-by-Step Guide on How to Use Fray Block?
Using Fray Block can effectively prevent fabric edges from fraying. Follow these steps to achieve a neat and professional finish on your sewing projects.
Prepare Your Work Area

Set up a clean, flat, and dry area free from clutter. Spread out the fabric you plan to treat so it’s smooth and debris-free. This setup promotes effective application and adhesion of Fray Block.
Trim Excess Threads
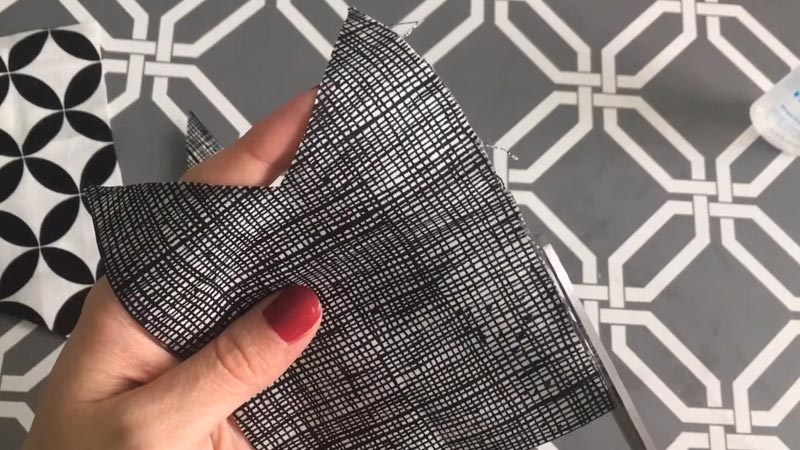
Check fabric edges for loose or frayed threads. Though optional, trimming with sharp scissors offers a polished appearance. It also provides a clean base for the Fray Block, ensuring better adherence to the fabric fibers.
Shake the Fray Block Bottle
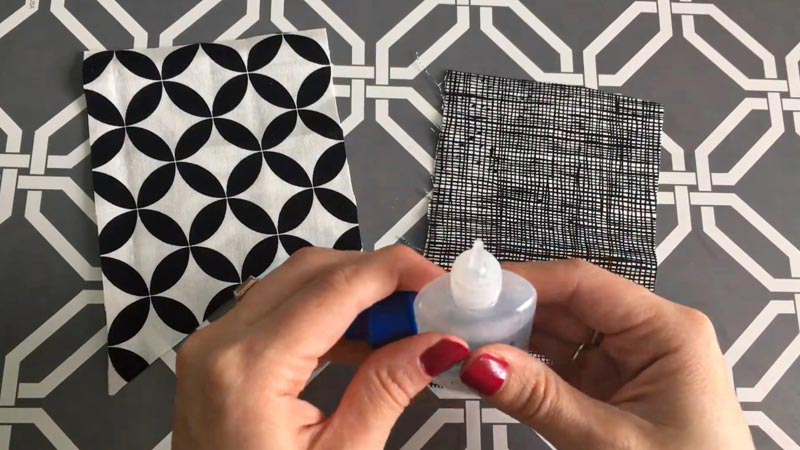
Shake the Fray Block bottle thoroughly. This even distribution ensures the solution is well-mixed and effective. Shake it for a few seconds to achieve the desired consistency and efficacy.
Apply Fray Block
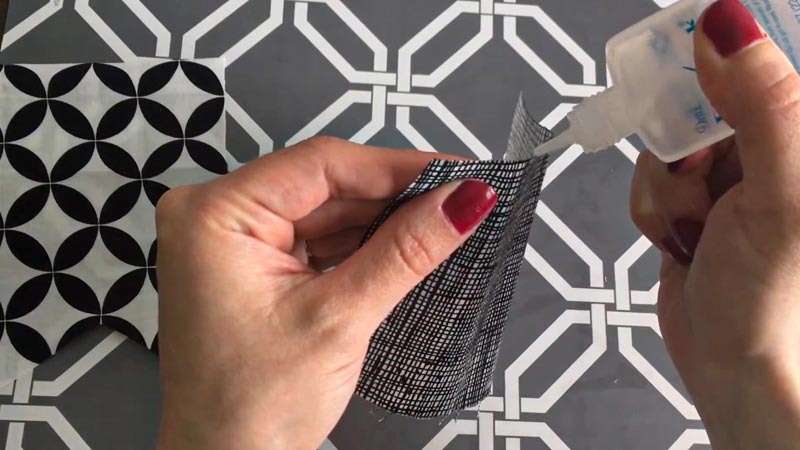
Hold the fabric securely and grasp the Fray Block bottle. Squeeze gently to apply a small amount along the edges, focusing on areas prone to fraying.
The aim is to create a uniform coating. Use the applicator tip to spread evenly into the fibers for thorough coverage.
Let It Dry
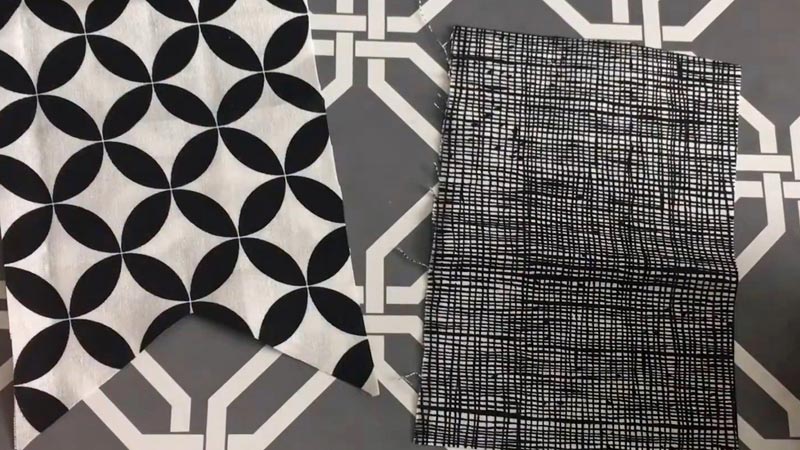
Allow the Fray Block time to dry completely. Drying time may vary, usually taking a few hours. Keep the fabric flat and undisturbed during this period to form a durable, protective layer.
Check the Results
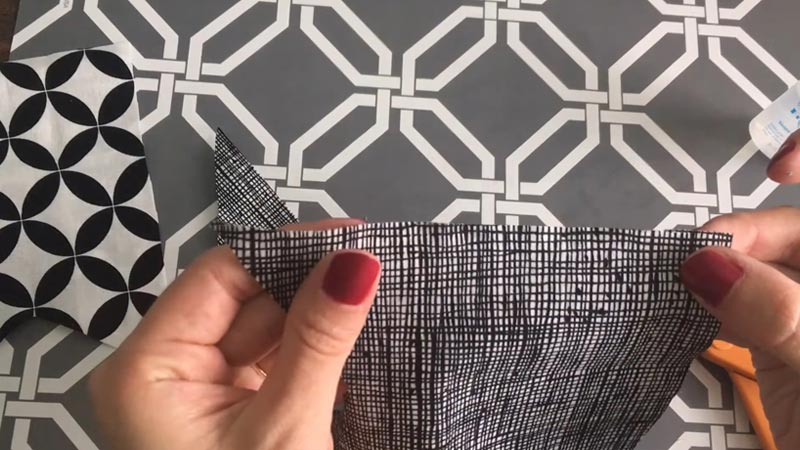
Once dry, inspect the fabric edge for a clear, flexible coating. If necessary, apply another layer for extra reinforcement. This ensures the fabric is well-protected and ready for future sewing or crafting.
Clean the Applicator Tip
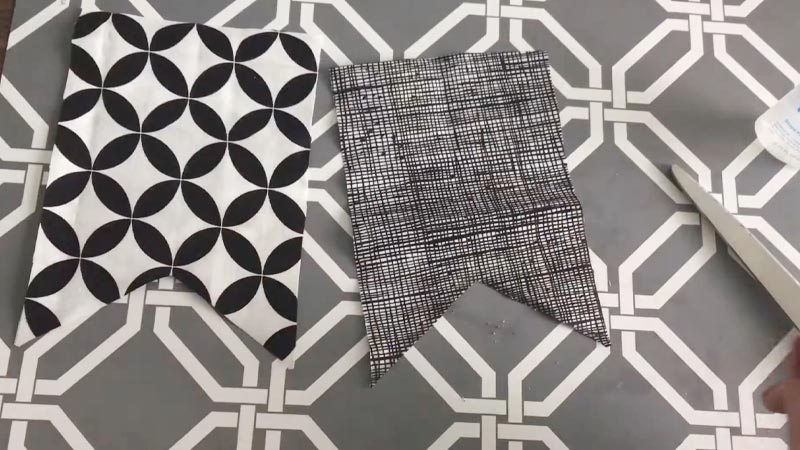
After use, clean the applicator tip with a tissue or cloth. This prevents clogging and maintains the bottle’s functionality, ensuring smooth application for future projects.
What is Fray Block used for?
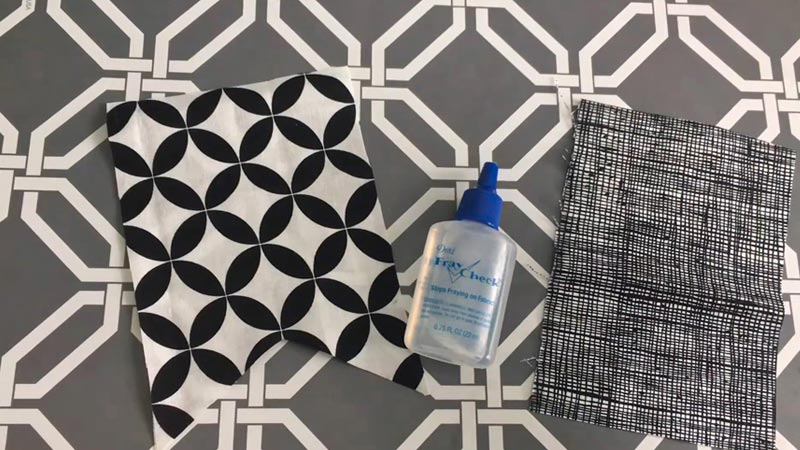
Fray Block prevents fraying and unraveling of fabric edges. It’s particularly useful in various sewing and crafting tasks where fabric integrity is essential.
Seam Finishing
Fray Block is crucial for achieving impeccable seam finishes. It forms a protective barrier along seam edges, preventing unraveling and fraying. This is especially useful for lightweight or loosely woven fabrics prone to fraying, ensuring garments maintain their structure and durability.
Hemming
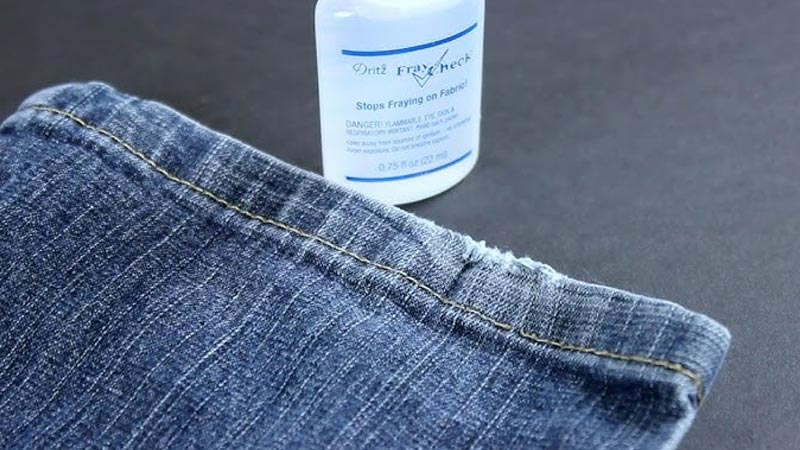
In hemming garments or fabric items, Fray Block offers significant benefits. It secures cut edges, especially in fabrics like linen or certain synthetics, preserving a polished hemline that withstands wear and washing. This enhances the hem’s longevity in delicate fabrics.
Embroidery and Appliqué
Fray Block safeguards intricate embroidery or appliqué designs. Applied to design peripheries, it prevents threads from loosening, maintaining embellishments’ integrity. This is vital for preserving the visual impact of fabric projects with detailed stitching.
Quilting
Quilters use Fray Block to strengthen fabric edges before quilt assembly. This prevents fraying, ensuring the quilt’s structural integrity through washes and use. It’s especially valuable for quilts needing frequent laundering.
Craft Projects
For craft projects, Fray Block prevents fraying, extending the life of creations. Whether crafting jewelry, accessories, or decorations, it preserves the aesthetic appeal of intricately crafted items, offering artisans confidence in their work’s longevity.
Costume and Apparel Construction
In costume design, Fray Block aids in achieving professional finishes. It secures fabric edges, enhancing durability and contributing to costumes and garments’ longevity, resisting wear and tear.
Home Décor Projects
Fray Block ensures a tidy look for home décor items like curtains, pillow covers, and table linens. It acts as a safeguard for fabric edges in high-traffic areas, contributing to the items’ longevity and maintaining their aesthetic appeal through use and washing.
Preventing Unraveling in Ribbon and Trim
Fray Block prevents unraveling of ribbons and trims, maintaining decorative elements’ integrity. This ensures they stay intact, enhancing the overall aesthetic of projects, particularly in intricate designs.
Arts and Crafts
In arts and crafts, Fray Block prevents fabric fraying, maintaining creations’ visual appeal. It’s beneficial for projects like scrapbooking or fabric collage, enabling artists to present their work confidently without concern for fabric deterioration.
How to Use Fray Check on Jeans?
Using Fray Check on jeans helps prevent unwanted fraying on edges and enhances durability. Follow these steps for effective application.
Prepare Your Work Area
Start with a clean, flat work surface. Lay your jeans out, focusing on areas prone to fraying like hems and seams. A tidy, well-lit space ensures precision during application.
Inspect the Jeans
Examine the jeans thoroughly, looking for loose or frayed threads. Use sharp scissors to trim them for a clean, even edge. This step is vital for allowing Fray Check to reinforce the fabric effectively.
Shake the Fray Check Bottle
Shake the Fray Check bottle well before applying. This mixes the contents, ensuring optimal performance. Proper mixing contributes to a durable protective barrier against fraying.
Apply Fray Check
Hold the jeans steady and apply a small amount of Fray Check to the frayed or trimmed edge. Gently squeeze the bottle along the targeted area. Avoid overapplication to prevent shiny residue; aim for controlled, even distribution.
Spread the Fray Check
Use the applicator tip to spread the liquid evenly across edges. Ensure comprehensive coverage by working the product into the fibers. This meticulous approach boosts the effectiveness of the protective shield.
Let It Dry
Allow Fray Check to air-dry completely. Drying typically takes a few hours. Keep jeans flat during this time and avoid folding or wearing them. Patience ensures a resilient coating for long-lasting protection.
Check the Results
Once dry, inspect the treated area for a clear, flexible coating. This indicates successful fray prevention. Consider applying another layer if additional reinforcement seems necessary.
Clean the Applicator Tip
Maintain Fray Check bottle functionality by cleaning the applicator tip after use. Wipe away residue with a tissue or cloth. This step prevents clogging, ensuring the product is ready for future use.
FAQs
Can I use Fray Block on different types of fabric?
Yes, Fray Block is suitable for use on various fabric types.
However, testing a small, inconspicuous area first is always advisable to ensure compatibility with the specific fabric.
Is Fray Check Permanent?
Yes, the fray check is permanent.
Can I apply Fray Block to already frayed fabric?
Yes, the Fray Block can be applied to the already frayed fabric.
It helps secure and reinforce the frayed edges, preventing further unraveling and adding a polished finish to the fabric.
Does Fray Check come out in the wash?
Fray Check is both washable and dry cleanable, which means it remains effective after laundering. It dries clear without altering the appearance of the fabric, so washing it doesn’t compromise its efficacy. Always test an inconspicuous area to ensure compatibility with your specific fabric.
How do you fray fabric quickly?
To fray fabric efficiently, start by cutting it to the desired size. Use sharp scissors to make vertical cuts along the edge.
Pull the threads from the edges with your fingers or tweezers to reveal the frayed look. If the fabric allows, wash and dry it to enhance the fraying. For more control, use sandpaper or a wire brush for precise distressing.
Is Fray Check just super glue?
Fray Check is a seam sealant formulated specifically for fabric. Unlike super glue, it prevents fraying without damaging the fibers.
It dries clear and remains flexible, making it appropriate for sewing projects. Super glue, on the other hand, is not recommended for fabric as it can become rigid and stain.
Does Fray Check make fabric stiff?
Fray Check might slightly stiffen the fabric where applied, but it doesn’t significantly alter the fabric’s overall texture.
It’s designed to maintain the fabric’s appearance while providing a protective barrier against fraying. For flexible fabric applications, test a small area before widespread use to ensure satisfaction with the result.
Wrap Up
Using Fray Block has transformed my sewing projects by providing a reliable solution to prevent fabric edges from fraying.
Its smooth application and clear drying properties make it indispensable for anyone looking to enhance the durability and appearance of their creations.
Whether you’re working on intricate designs or simple hems, Fray Block ensures a neat finish without visible residue. With its availability at most fabric stores and online, it’s easy to incorporate into your sewing toolkit.
By following the steps outlined, you can achieve professional results and maintain the integrity of your fabrics. Embrace the confidence that comes with knowing your projects are protected and beautifully finished.
Leave a Reply